Working with Next.js
- Create a
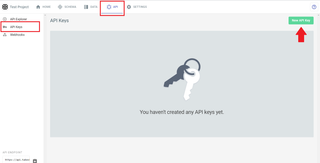
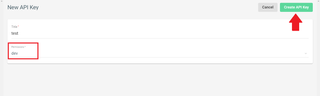
.envfile in your Next.js project's root (or open your file) and add your project's API Key and GraphQL API Endpoint URL (found in the admin UI) to it.
.env
GRAPHQL_API_KEY="YOUR KEY HERE"
GRAPHQL_API_URL="YOUR ENDPOINT HERE"
- Create a new file called
graphql.client.jsto configure your requests to the GraphQL API:
graphql.client.js
export class Client {
  constructor(apiUrl, apiKey) {
    this.token = apiKey;
    this.endpoint = apiUrl;
  }
  async graphql(params) {
    const res = await fetch(this.endpoint, {
      method: 'POST',
      headers: {
        'Content-Type': 'application/json',
        Authorization: `Bearer ${this.token}`
      },
      body: JSON.stringify(params)
    });
    return res;
  }
}

export default new Client(process.env.GRAPHQL_API_URL, process.env.GRAPHQL_API_KEY);
- Finally, import the library and call it within the
getStaticPropsfunction of your page components:
pages/index.js
import Error from 'next/error';
import GraphQLApi from '../graphql.client';

export async function getStaticProps() {
  try {
    const res = await GraphQLApi.graphql({ query: '' });
    return {
      props: {
        graphQlAPIWorks: res.ok
      }
    };
  } catch (error) {
    return {
      props: {
        error: error.message
      }
    };
  }
}

export default function Page({ graphQlAPIWorks, error }) {
  if (error) {
    return <Error statusCode={500} title={error} />;
  }
  return (
    <div>
      <h1>
        Welcome to{' '}
        <a href="https://app.takeshape.io/docs/get-started/ssg/nextjs/">Next.js{graphQlAPIWorks && ' and GraphQL API!'}</a>
      </h1>
    </div>
  );
}
note
Check out our takeshape-starter-nextjs repo for a basic integration of our GraphQL API with Next.js. Explore other starter projects to find other example Next.js projects, including one from the team behind Next.js